


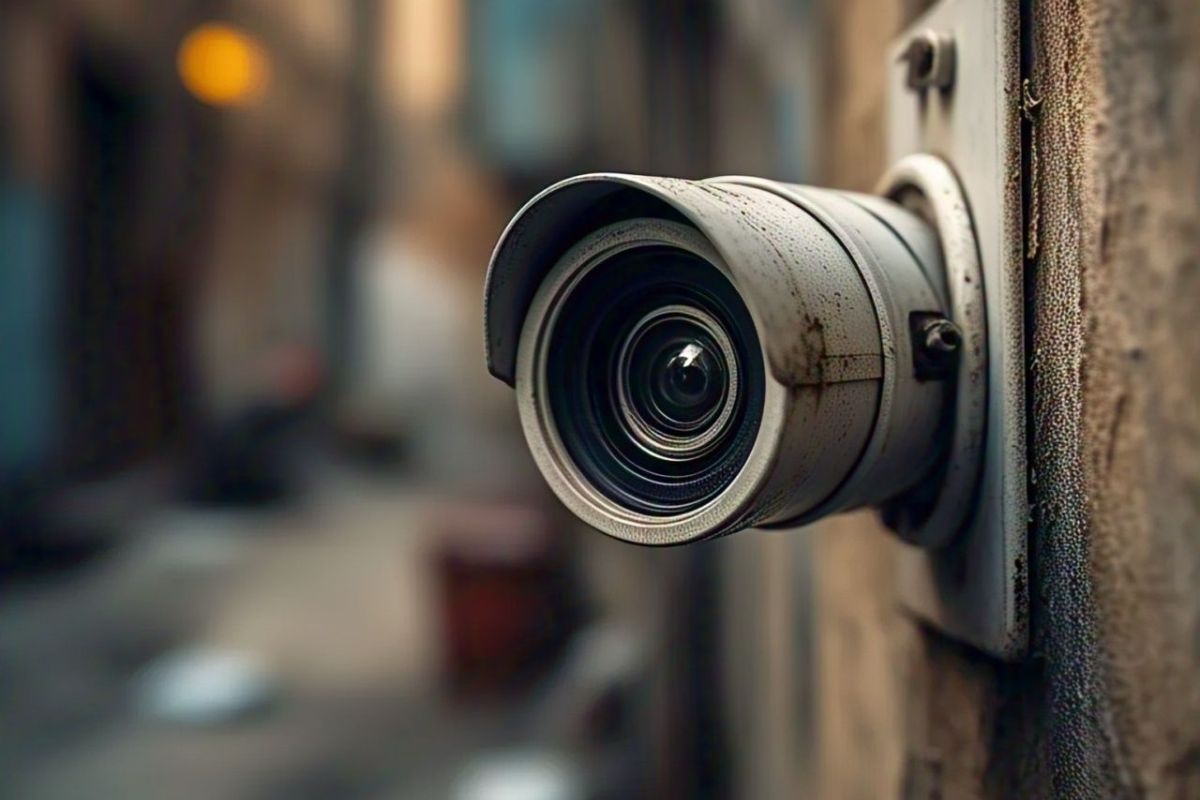
Understanding IR in CCTV Cameras
Infrared (IR) technology plays a pivotal role in enabling CCTV cameras to function effectively in low-light or no-light conditions. By emitting infrared light through built-in LEDs, these cameras can record clear footage during nighttime. This feature is particularly vital for continuous surveillance across residential, commercial, and industrial environments. However, in specific scenarios, users may find it necessary to disable IR. Whether it’s due to unwanted reflections, overexposure, or interference with other equipment, understanding how IR works is the first step in managing its use.
How IR Night Vision Works
IR night vision relies on infrared LEDs surrounding the camera lens. These LEDs emit light that is invisible to the human eye but can be detected by the camera’s sensor. When darkness falls, the camera automatically switches to night mode, enabling these LEDs to illuminate the field of view. The image produced appears in black and white, offering enough contrast and clarity for effective surveillance. This system ensures security coverage remains intact even in pitch-black environments. However, this functionality may not always be ideal, especially in glass-enclosed spaces or reflective surfaces where glare can distort footage.
Components Involved in IR Functionality
Several components work in tandem to provide IR functionality:
- Infrared LEDs: Emit non-visible light that enhances visibility in low-light areas.
- IR Cut Filter: A mechanical filter that blocks IR light during daytime and removes itself at night to enable night vision.
- Camera Sensor: Captures both visible and IR light, depending on the filter status.
Each of these parts plays a crucial role in switching between day and night modes. When IR is disabled, one or more of these components is either bypassed or deactivated, directly affecting the camera’s ability to record in darkness.
Common Scenarios Where Disabling IR is Beneficial
There are practical instances where disabling the IR function proves beneficial. For example, when a camera is placed behind a glass window, IR light can reflect off the glass, causing glare that obstructs the view. In retail stores, IR may trigger false reflections on shiny surfaces, degrading image quality. Additionally, wildlife enthusiasts who use cameras for monitoring animals may prefer to avoid IR to prevent disturbing nocturnal behavior. In all these cases, turning off IR helps improve video clarity or serves specific functional requirements.
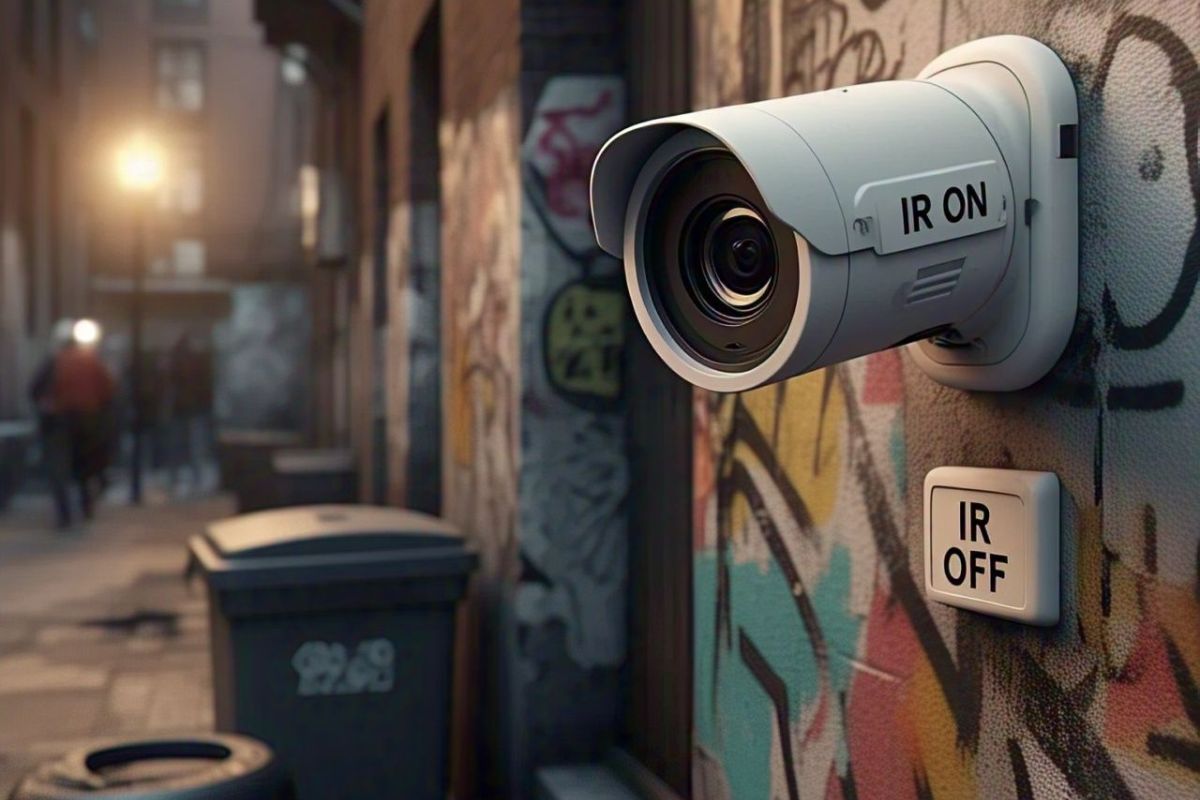
Methods to Disable IR on a CCTV Camera
Using Camera Settings
Most modern CCTV cameras come with configurable settings accessible through a mobile app or web interface. Users can navigate to the image or night vision settings and toggle off the IR feature. This method is the safest and least invasive way to disable IR, especially if you’re not comfortable opening the camera hardware. Make sure to save the settings after making changes and test the camera during night hours to confirm the IR is deactivated.
Manually Covering IR LEDs
If software settings are unavailable, a simple workaround involves covering the IR LEDs with electrical tape or a custom-made opaque cover. This blocks the emitted infrared light while still allowing the camera to function. However, this may not fully disable IR functionality, and the image could still appear overexposed or underlit in dark areas. It’s an easy, non-permanent method but may not offer the best results long-term.
Disconnecting IR LEDs
For a more permanent solution, users can disassemble the camera and physically disconnect the IR LED module. This approach requires basic knowledge of camera internals and should only be attempted if the device is out of warranty or if you are confident in handling electronics. Carefully remove the housing, locate the IR LED wires, and disconnect them from the main board. Reassemble the camera and test its functionality to ensure the image remains stable during night conditions.
Using an External IR Cut Filter
An IR cut filter can be applied externally to the camera lens. These filters block infrared light from reaching the sensor, resulting in daylight-like video quality even in mixed lighting conditions. While this doesn’t technically disable the IR LEDs, it does prevent the sensor from registering infrared light, achieving a similar effect. This method is ideal for users looking to retain full control without modifying the camera hardware.
Alternative Solutions
Adjusting Camera Placement to Reduce IR Reflection
One effective way to avoid IR-related issues without disabling the feature entirely is to change the camera’s position. Avoid placing it behind glass, near mirrors, or shiny surfaces that can reflect IR beams. Angle adjustments can significantly reduce glare, ensuring clearer footage while retaining the benefits of night vision. This solution works best in controlled environments where the placement is flexible.
Using External Lighting Instead of IR for Night Surveillance
External floodlights or low-lumen LED lights can serve as alternatives to IR night vision. These lights provide adequate visibility for cameras with low-light sensors, allowing them to capture usable footage without relying on infrared illumination. The added benefit is a color image during nighttime, unlike the black-and-white footage IR typically produces.
Switching to a Non-IR Security Camera if IR is Unnecessary
In some use cases, such as indoor surveillance under constant lighting, IR is not required. Opting for a security camera without built-in IR LEDs eliminates the need to disable anything. These models are usually less expensive and consume less power. Selecting the right type of camera based on your environment and lighting conditions ensures optimal performance without unnecessary features.

Precautions and Considerations
Checking Warranty Before Modifying the Camera
Before taking apart your CCTV camera to disconnect hardware components, always check the manufacturer’s warranty policy. Opening the device may void the warranty, leaving you unprotected in case of future issues. It’s advisable to explore software-based solutions first or consult with the manufacturer for approved methods. When shopping for reliable and warranty-backed surveillance systems, trusted suppliers like Buy Security Cameras offer various options that meet quality and support standards.
Impact on Night Vision and Overall Security
Disabling IR impacts the camera’s ability to monitor effectively in dark settings. If the camera is relied upon for 24/7 security, this change may leave areas unmonitored during nighttime. Always evaluate whether alternative lighting or increased daytime coverage compensates for the lost functionality. Strategic lighting placement can help maintain visibility without relying on IR. For users looking to upgrade to cameras with better low-light performance, the range of CCTV supplies available here can provide enhanced options to maintain nighttime security.
Best Practices for Maintaining Video Clarity After Disabling IR
Once IR is disabled, maintaining video quality requires proactive adjustments. Here are a few best practices:
- Ensure consistent ambient lighting in surveillance areas.
- Choose cameras with strong low-light performance (e.g., wide dynamic range).
- Regularly clean lenses and housing to prevent image distortion.
Implementing these strategies keeps footage usable and ensures your security system continues to perform effectively.
FAQs
1. How to disable IR on a CCTV camera using a DVR?
Access the DVR menu, go to camera settings, find “IR Light“ or “Night Vision”, and turn it off. Save the changes and test the camera in low light.
2. How to freeze a CCTV camera?
Pause the feed through the DVR/NVR, disconnect the network or power, or use a freeze-frame feature if available. Be cautious, as this may disrupt security monitoring.
3. How to turn off the CCTV camera light?
Go to camera settings via the DVR/NVR or web interface and disable IR Light or LED indicators. If no setting is available, cover the light with black tape or disconnect the IR LEDs inside the camera.